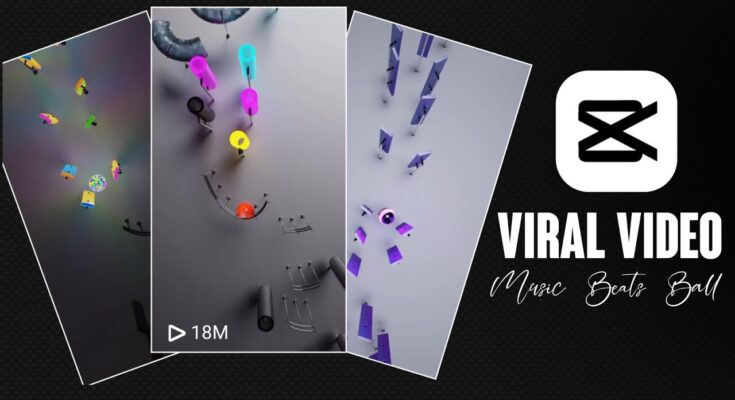
If you’ve ever scrolled through Instagram Reels or YouTube Shorts, you’ve likely seen those mesmerizing music beat videos that sync perfectly with trending tracks. They look super cool, don’t they? The good news is — you can create the exact same type of content right from your smartphone, without needing any high-end computer or complex editing software.
In today’s blog post, I’m going to walk you through the exact step-by-step method to create these viral beat videos using just a few mobile apps. Whether you’re an Android or iPhone user, this tutorial is for you!
📱 What You’ll Need:
To make these types of videos, you’ll need the following apps:
-
Beat Bounce – The core app that helps you generate beat-synced visuals. (Available on both Google Play Store and Apple App Store)
-
CapCut – A free and powerful video editing app.
-
Screen Recorder – Most smartphones have a built-in screen recording feature. If not, download XRecorder or DU Recorder.
🎵 Step-by-Step Guide to Make a Music Beat Video
1. Install the Required Apps
Start by downloading Beat Bounce from the Google Play Store or App Store. Also, make sure your screen recording app is ready.
✅ Tip: Ensure you have enough storage space and good audio quality on your device.
2. Start Screen Recording
Open your screen recorder and tap “Start Recording.” Now, launch the Beat Bounce app.
3. Choose Your Music Beat
Inside Beat Bounce, you’ll see a simple interface. Choose your desired music track. For example, I selected a trendy beat from the app’s built-in library.
🎧 Pro Tip: Use beats that are already trending on platforms like TikTok or Instagram Reels to increase your video’s chances of going viral.
4. Sync the Beat with Visuals
You’ll now see an interface with two highlighted points (like signs on each side of the screen). Tap in rhythm with the beat as accurately as possible. Don’t worry if you don’t get it right the first time — repeat until the timing matches the music perfectly.
Try to record at least 20–30 seconds of synced tapping.
5. Stop the Recording
Once you’re satisfied with the recording, stop the screen capture. You now have the raw video ready for editing.
✂️ Editing Your Beat Video in CapCut
6. Import Your Video into CapCut
Open CapCut and import the screen recording you just created.
7. Trim the Unwanted Parts
Remove any unnecessary portions at the beginning or end. Make sure the video starts and ends with the actual beat sequence.
8. Zoom and Clean the Video
Zoom into the part of the video where the beat animation appears. Make sure no extra app UI or unwanted text is visible. The goal is to keep your video clean and focused on the beat visuals.
9. Export the Final Video
Once everything looks good, export your video in high resolution (preferably 1080p or higher). That’s it — you’re done!
📤 Now your video is ready to post on Instagram Reels, YouTube Shorts, TikTok, or any platform you like.
🔁 Final Result
If you’ve followed all the steps correctly, your final video should look something like this:
(Insert a sample video or image if you’re embedding this into your WordPress post)
🎬 Bonus Tips for Going Viral
-
Use trending hashtags like #beatvideo #musicedit #viralshorts.
-
Keep your videos short and engaging — under 30 seconds works best.
-
Upload regularly and engage with your audience.
-
Add a short, catchy caption and a relevant audio track to boost discoverability.
✅ Conclusion
That’s it! With just a few taps and two simple apps — Beat Bounce and CapCut — you can create stunning, viral-ready music beat videos right from your phone.
If you found this tutorial helpful, don’t forget to bookmark this blog and subscribe for more video editing guides and mobile content creation tips.


